1. Cursor 简介
Cursor 是一款集成了 GPT-4 的 IDE 开发工具(有些人称其为 Chat-GPT3)。它能够根据用户的需求自动生成代码,功能强大且使用方便。
2. 下载 Windows 版本的 Cursor
您可以通过以下链接下载 Cursor 的 Windows 版本:
3. 安装步骤
- 点击安装后,会出现安装界面。
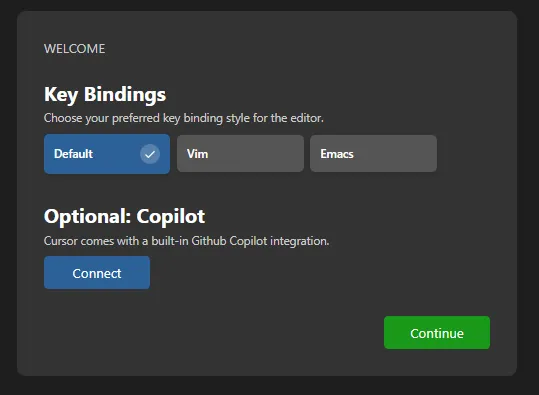

- 跳过 “Connect Copilot”,点击 “Continue” 继续安装。
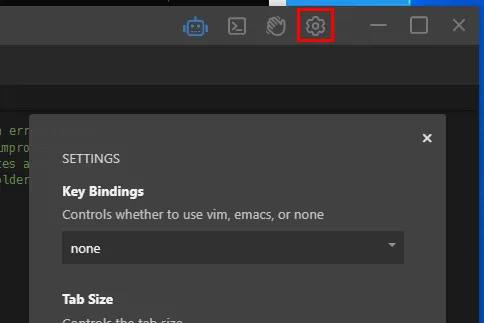
- 点击右上角的齿轮按钮。
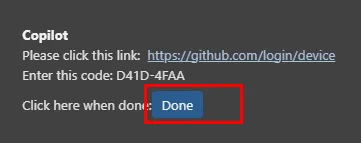
- 点击下图中的网址连接,并记住生成的代码。
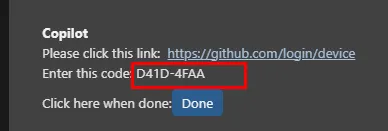
- 这时会跳转到 GitHub 的登录页面,输入您的 GitHub 账号和密码进行登录。

- 点击绿色按钮完成授权。

- 最后点击 “Done”(如果没有反应可以忽略)。
4. Cursor 的使用
按住 Ctrl + K 键,弹出窗口后输入您想要的功能。
Cursor 会快速生成代码。以下是生成的 AlexNet 模型代码示例:
python
import torch.nn as nn
class AlexNet(nn.Module):
def init(self, num_classes=1000):
super(AlexNet, self).init()
self.features = nn.Sequential(
nn.Conv2d(3, 64, kernel_size=11, stride=4, padding=2),
nn.ReLU(inplace=True),
nn.MaxPool2d(kernel_size=3, stride=2),
nn.Conv2d(64, 192, kernel_size=5, padding=2),
nn.ReLU(inplace=True),
nn.MaxPool2d(kernel_size=3, stride=2),
nn.Conv2d(192, 384, kernel_size=3, padding=1),
nn.ReLU(inplace=True),
nn.Conv2d(384, 256, kernel_size=3, padding=1),
nn.ReLU(inplace=True),
nn.Conv2d(256, 256, kernel_size=3, padding=1),
nn.ReLU(inplace=True),
nn.MaxPool2d(kernel_size=3, stride=2),
)
self.avgpool = nn.AdaptiveAvgPool2d((6, 6))
self.classifier = nn.Sequential(
nn.Dropout(),
nn.Linear(256 * 6 * 6, 4096),
nn.ReLU(inplace=True),
nn.Dropout(),
nn.Linear(4096, 4096),
nn.ReLU(inplace=True),
nn.Linear(4096, num_classes),
)
def forward(self, x):
    x = self.features(x)
    x = self.avgpool(x)
    x = x.view(x.size(0), 256 * 6 * 6)
    x = self.classifier(x)
    return x
另外,Ctrl + L 可以用来询问代码的含义,返回的结果为英文。
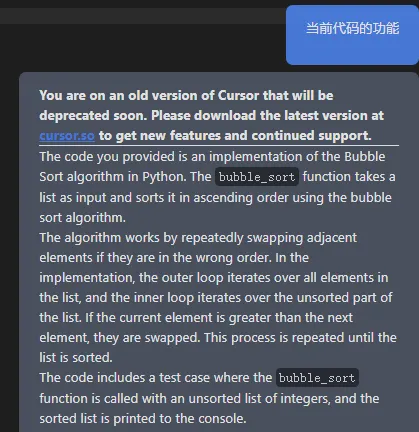
作为一款 IDE 工具,Cursor 功能强大,值得一试。